Appearance
Content Sharing Instructions
This guide provides step-by-step instructions on how to share content during meetings using the AV systems at MxD. Whether you are using a wired or wireless connection, follow the instructions below to ensure a smooth content sharing experience.
Wired Connection
Locate the HDMI Cable:
- The HDMI cable is typically available on the conference table. Ensure it is connected to the AV system.
Connect Your Device:
- Plug one end of the HDMI cable into your laptop or device.
Select the Input Source:
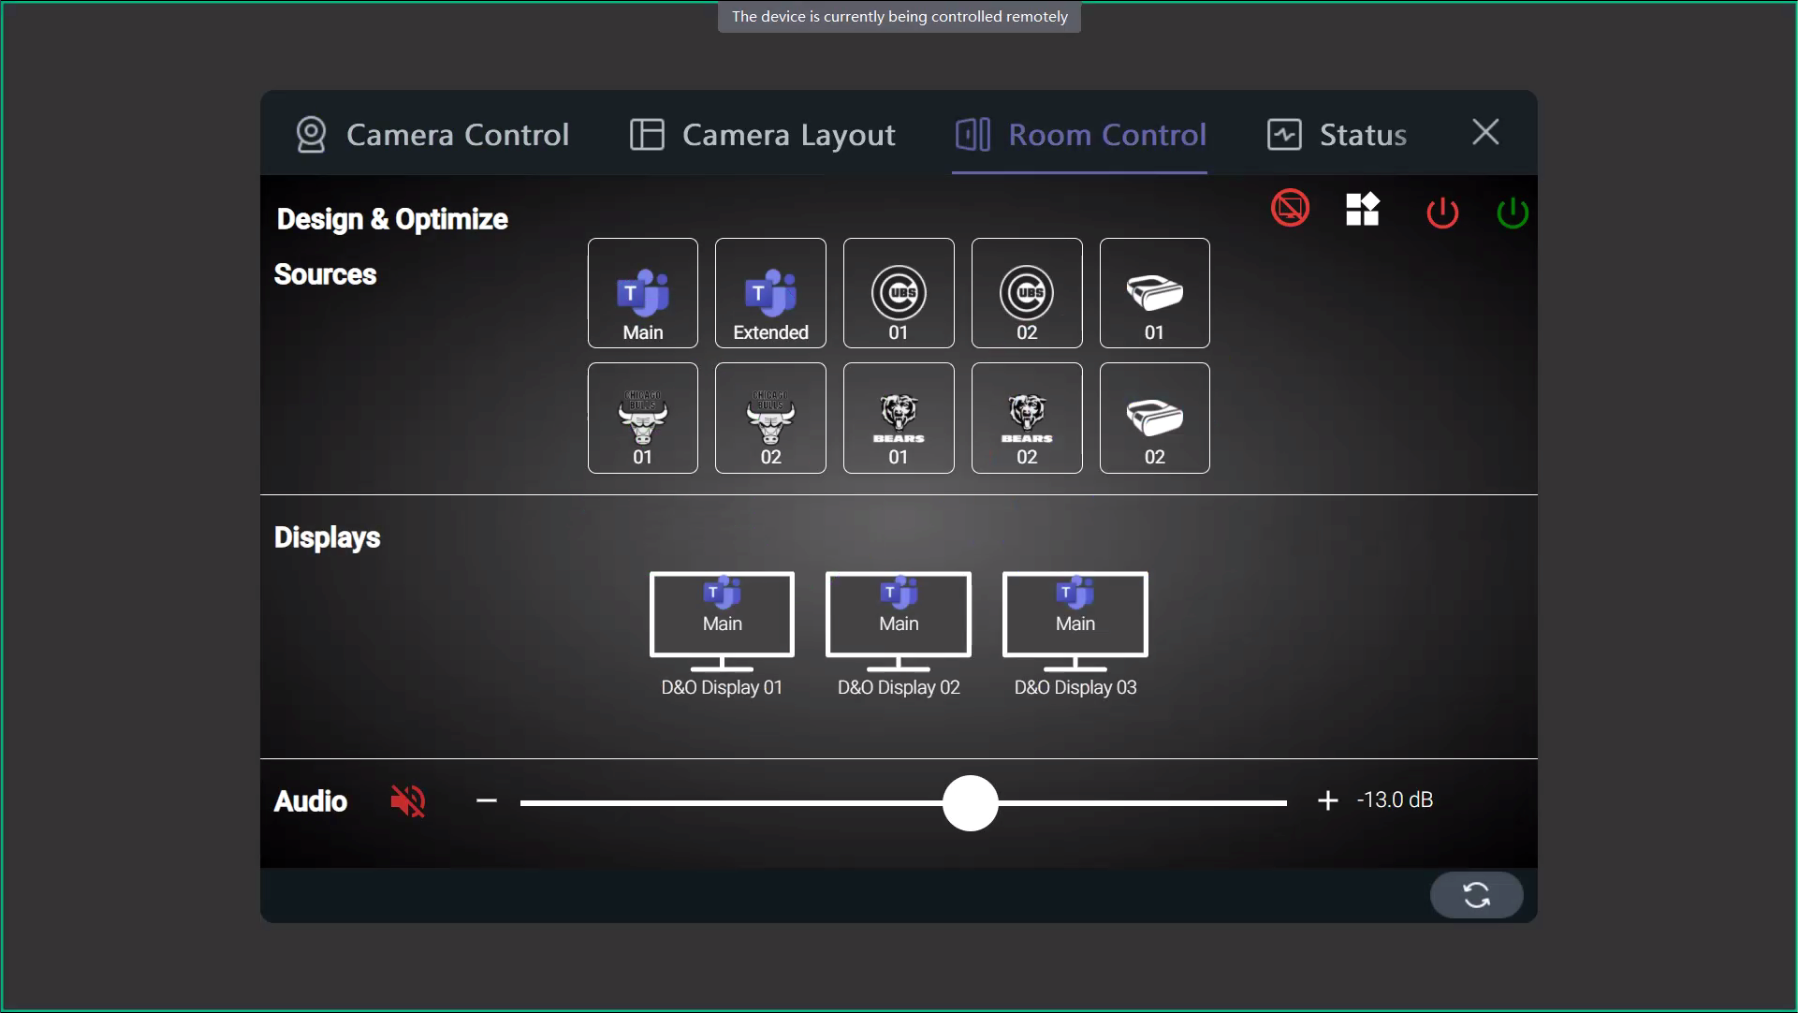
- Wake up the touch panel.
- On the yealink panel select room controls then the room controls tab, select the appropriate input source for HDMI. This may be labeled as "HDMI 1" or similar. Drag your input source to the display you would like to share your screen.
 4. Share Your Screen:
- Once connected, your device's screen should be mirrored on the display.
- Adjust the display settings on your device if necessary to ensure optimal resolution.
Wireless Connection
Using the Yealink WPP30 Dongle
Plug the Yealink Dongle into Your Laptop:
- Insert the Yealink WPP30 USB dongle into your device's USB port.
- Wait for the LED on the dongle to turn solid green, indicating that it is ready for use.
Initiate Wireless Sharing:
Your laptop will automatically connect to the room's AV system once the LED is solid green.

To share your screen, press the button on the dongle. This will enable casting to the screen, and your entire screen will be outlined in red on the in-room display.
Stopping Screen Sharing:
- To stop sharing your screen, press the button on the dongle again. Alternatively, you can also press the "Share" button on the tablet interface if available.
Additional Tips for Using Yealink Dongles
- Ensure that the dongle is fully inserted into the laptop's USB port.
- If the LED is flashing, wait for it to establish a connection. A solid green light means it is ready to use.
- If the dongle isn’t working, try unplugging it and reconnecting it.
How to Start a Teams Call
Wake Up the Touch Panel:
- Tap the touch panel to wake it up.
Select "New Meeting":
- Choose the "New Meeting" option on the touch panel.
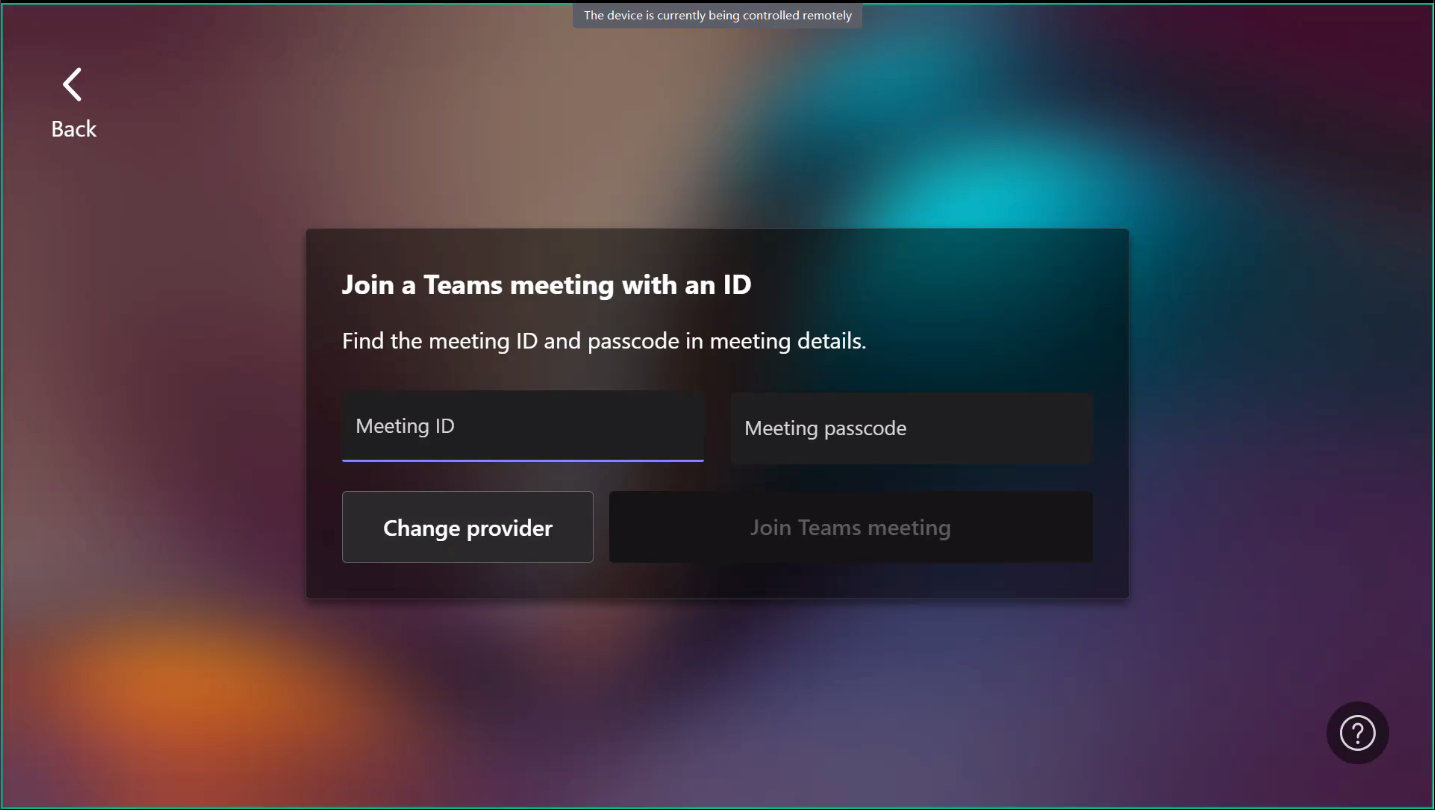
 3. Enter Meeting Details:
- Input the email address of the participant or select from your contacts.
- Start the Call:
- Tap "Start" to begin the Teams call.
How to Join a Teams Call
Wake Up the Touch Panel:
- Tap the touch panel to wake it up.
Find Scheduled Meetings:
- Look for scheduled meetings displayed on the home screen.
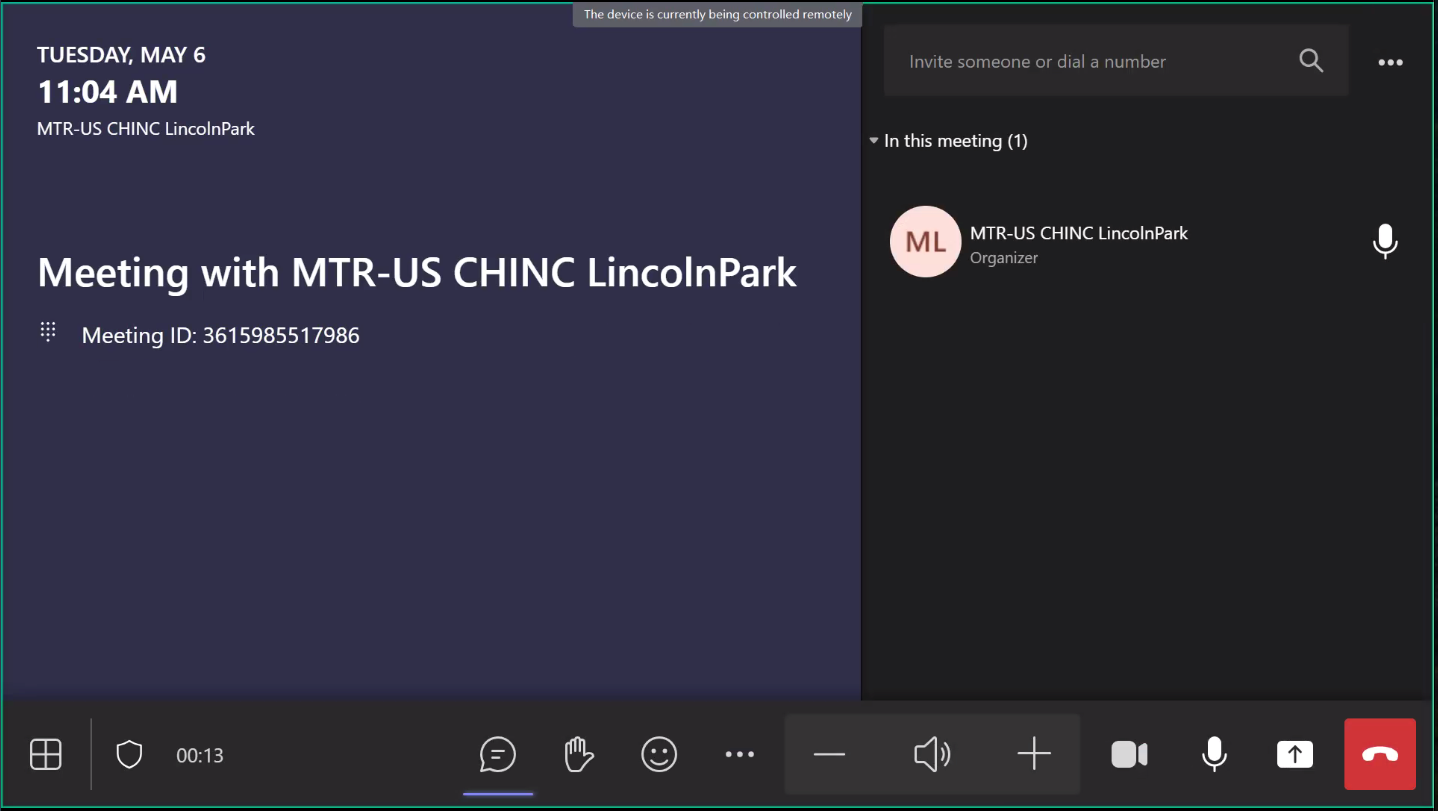
Join the Meeting:
- Tap "Join" to enter the meeting.
 4. Adjust Settings:
- If necessary, adjust the camera and microphone settings for optimal participation.
Troubleshooting Content Sharing Issues
If you encounter issues while sharing content, consider the following troubleshooting steps:
Check Connections:
- Ensure that all cables are securely connected and that the correct input source is selected on the touch panel.
Restart Sharing Application:
- If the content does not display, close and reopen the application you are using to share content.
Consult IT Support:
- If problems persist, contact your IT support team for assistance with network-related issues.
Contact Support
If you encounter issues that you cannot resolve using this guide, please contact the AV support team at Support@OnyxIntegrations.com for further assistance.
Last updated: May 2025 by Brian Alexander